


You know these things? The Satin Blanket Binding?

I LOATHE them!
I have been sewing for many years and I still can't master them!
But of course a baby blankie isn't the same without it. My kids love them, and when I make them for other people they always request one with it.
So I had to figure out how to get these things to work for me.
I am going to show you how you can use this satin blanket binding in a different way.
So Easy!
Takes about 20 minutes
Costs about 20 bucks (if you use minky on both sides, like I do)
First, gather your materials:

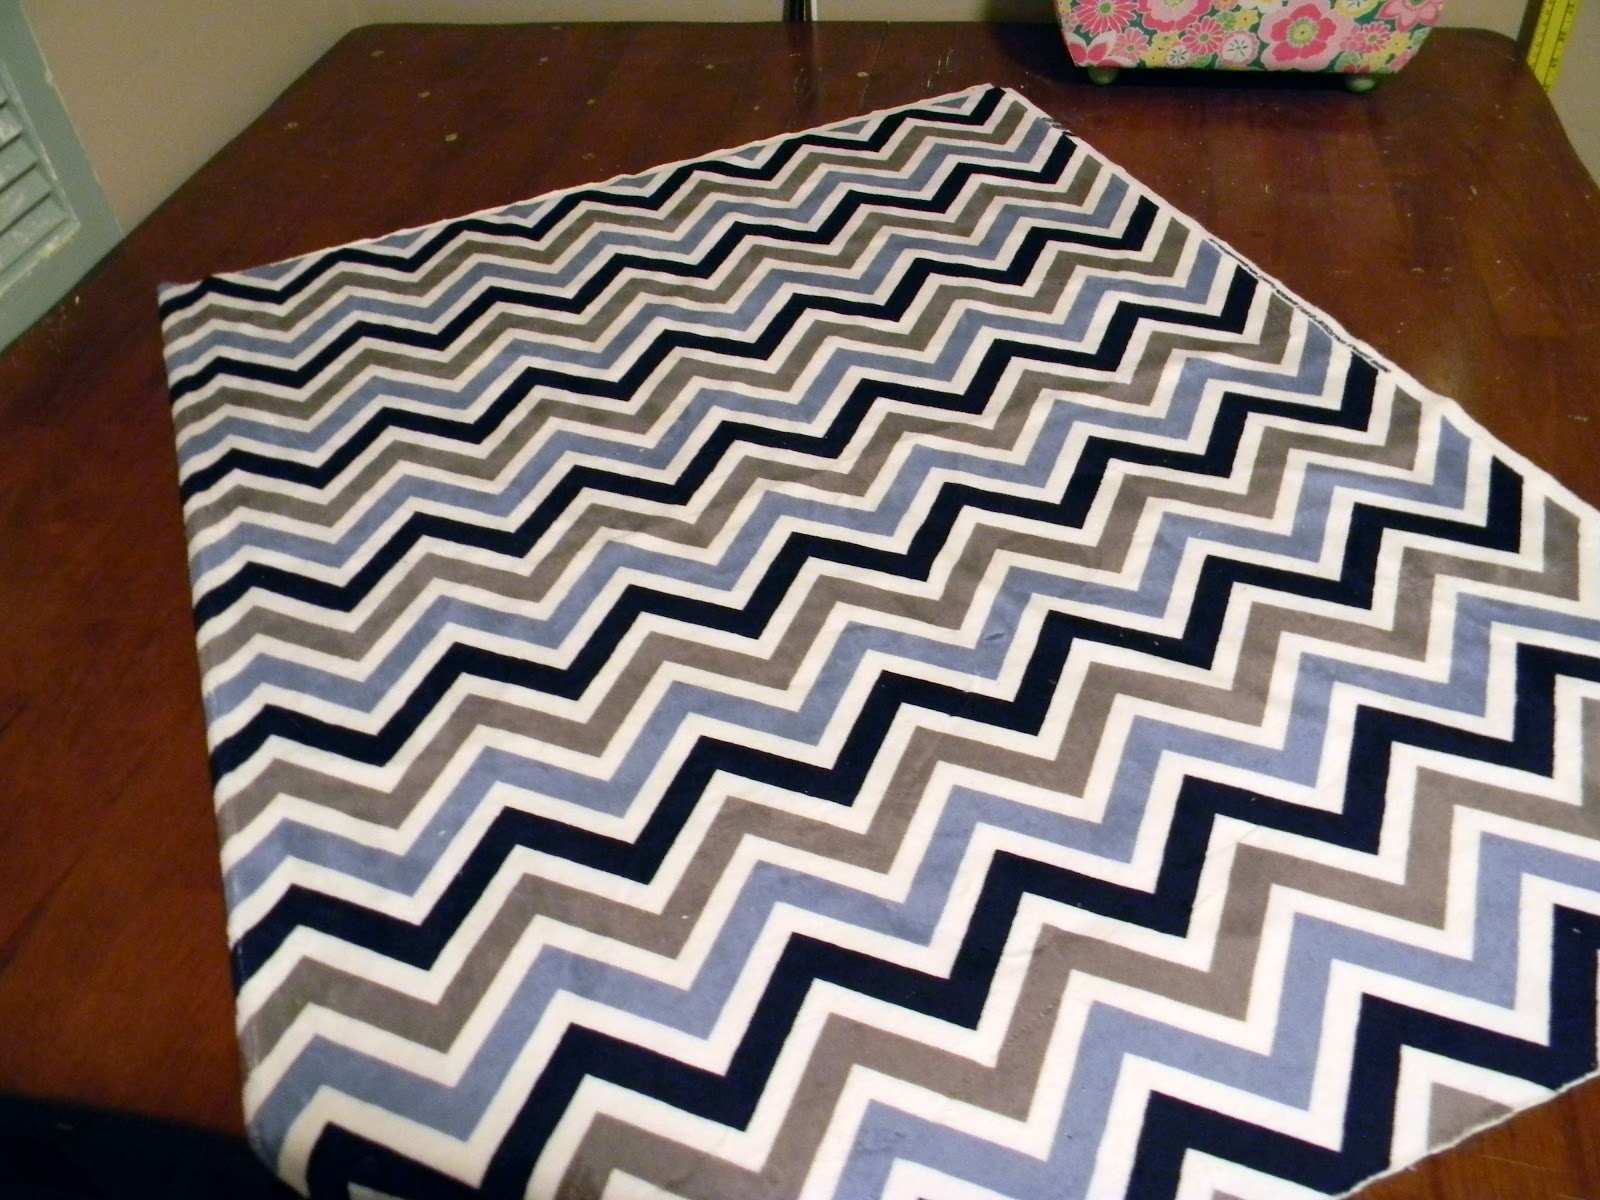
You will need two coordinating fabrics (I prefer minky) and a package of the satin binding
*ok just a side not*
I always buy a yard of the minky fabric. If you do, you can fold it in half and get exactly two good sized blankets out of it. So it cuts out the "measuring" step
Cut your first fabric in half
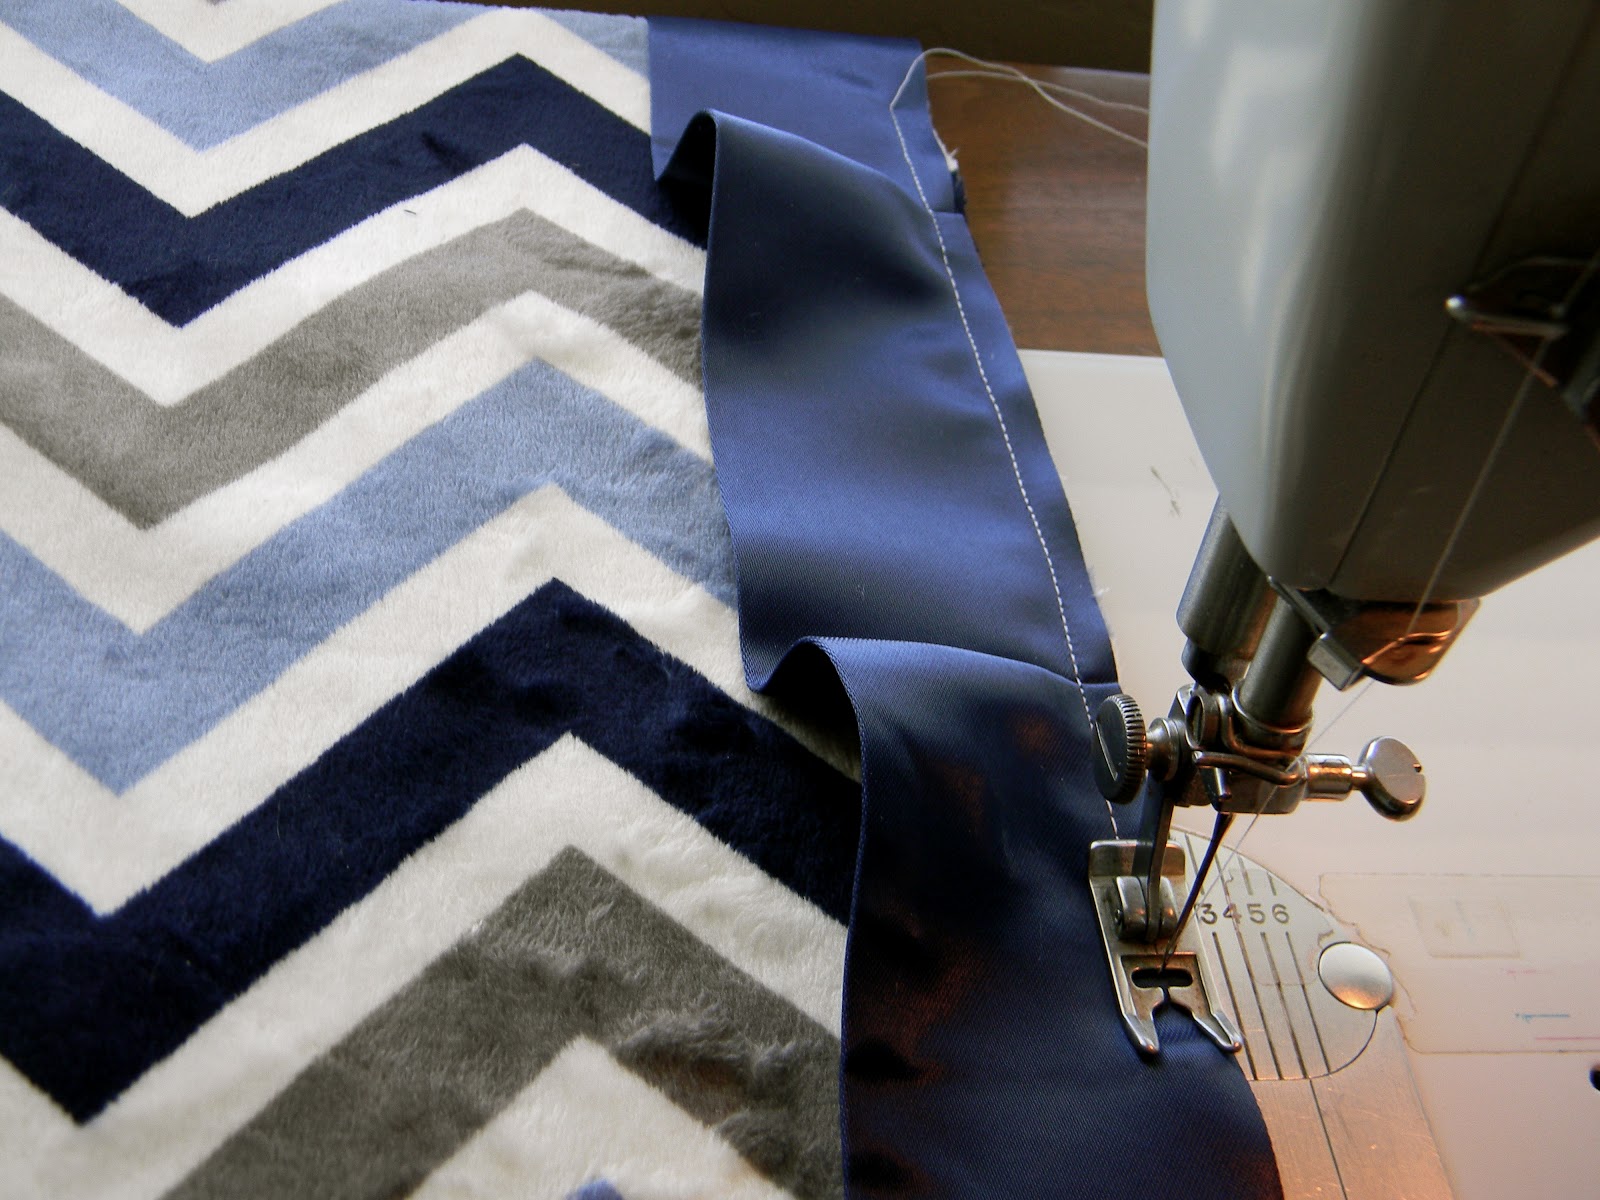
Then take your satin binding and line it up on the endge of the fabric. You want to line it up with the open end of the binding (not the folded edge)

Leave a few inches loose, then start sewing around the edge with a straight stitch. I just line up the fabric edge with the edge of my presser foot.
*another note*
you have not pinned anything at this point!

As you sew, take the binding and make small folds (or pleats) with it. I don't measure, I do them randomly so it doesn't look so uniform. I also do more for a girl blanket than I do for a boy one.

So it should look something like this as you sew along:
When you get to the corner, you want to do the same thing, only make about 3 folds, until the binding can line up with the next fabric edge


Curve your stitching around the corner

When you get to the end, cut off the excess, but leave a few inches.

Overlap the two loose edges

Then fold it over, hiding both rough edges, and sew it down.


Now your blanket should look like this:

Next, lay your blanket face down on your contrasting fabric, and pin in place.

I always pin it with an inch or so extra room because minky always tends to creep, so it will give you a little wiggle room.

When you finish pinning, cut off the excess fabric

Go back to your sewing machine and line your presser foot up with your previous seam line. This way you know your previous stitching won't show through.

When you get to each corner, lift it up to move all your pleats to the middle so you don't catch the end of one in your stitching.

When you get towards the end, leave an opening big enough for you to flip the blanket inside out.
*I always double pin the spot for the opening, otherwise I ALWAYS sew it closed! You'd think I wouldn't have to always remind myself....but I do!

Clip your corners so they look like this, then flip your blanket inside out

Next you will need to sew your opening closed.

I use a zig zag stitch, and I go around the entire blanket to give it a topstitch.

You can skip this step, but I think it makes it look more finished.

Then, YOU'RE DONE!
You now have a beautiful baby blanket
with a satin edge!

*another side note*
I have 3 boys, and have made one of these for each of them, which they love.
If you are worried that the edge looks too girly, let me tell you:
I have made and sold FAR more boy blankies like this than girl :)
Party Links:
Tater Tots & Jello: Weekend Wrap Up
Six Sisters Stuff: Strut your Stuff
Party Links:
Tater Tots & Jello: Weekend Wrap Up
Six Sisters Stuff: Strut your Stuff
No comments:
Post a Comment
Thank you for your comments! They brighten my day!